As one of the lucky few in Australia to be connected to the NBN with FTTH (Fibre To The Home), I thought it would be interesting to document the cabling from the street and into the home.
I'd also like to note the NBN installer did an extraordinarily good job with the install, even waiting until I got home from work to look through the ceiling with me and understand how I've cabled the rest of the home (most NBN installs are fairly quick/simple from what I understand).
Date of Install
This installation was performed in Mid 2015. It is important to note that several aspects of design have evolved and will continue to evolve, so this is simply a snapshot of an NBN installation mid 2015.
Street Cabling
Multicore optical cabling from the local exchange is run directly through to NBN Nodes, which (for FTTH) are passive frames on the sidewalk where physical patching can occur. The nodes don't contain intelligent devices, they are just like the older copper patch frames on the sidewalks in this sense.
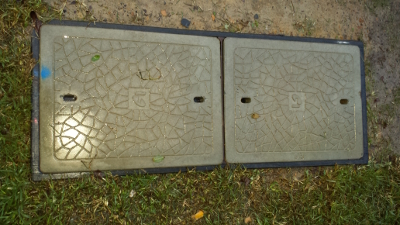
From here, optical cabling is run out to each premises using the existing Telstra pits
Old Telstra boundary - copper lines
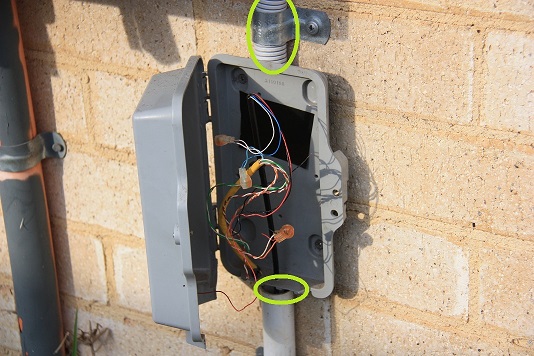
In this picture, you can see that the existing copper lines have been left as-is, with the fibre (circled in green) run behind the Telstra boundary utility box.
NBN Utility Box
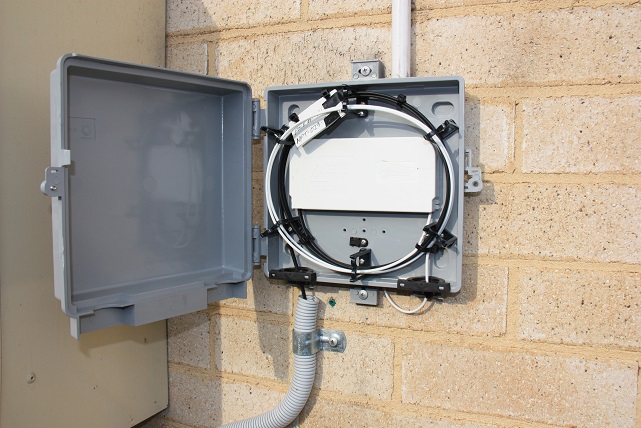
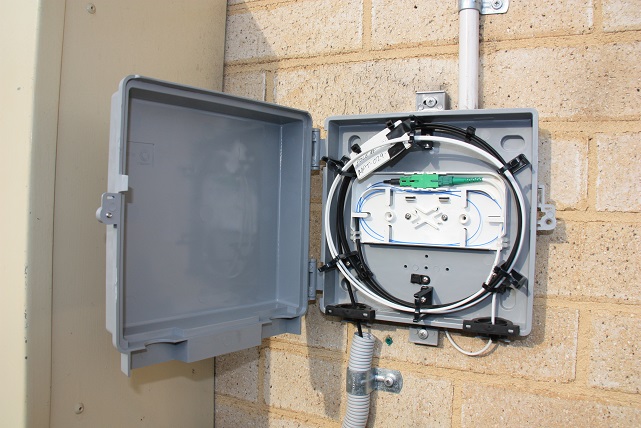
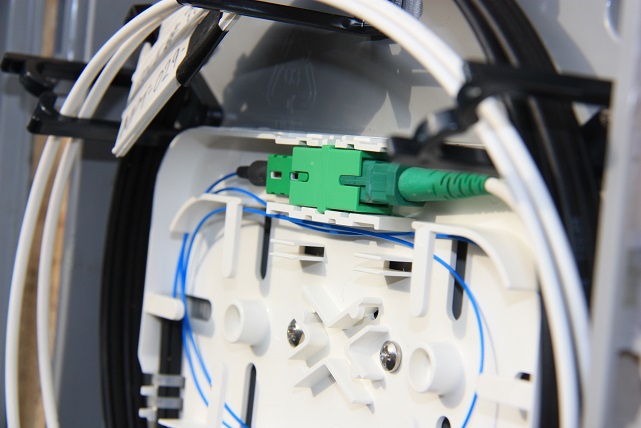
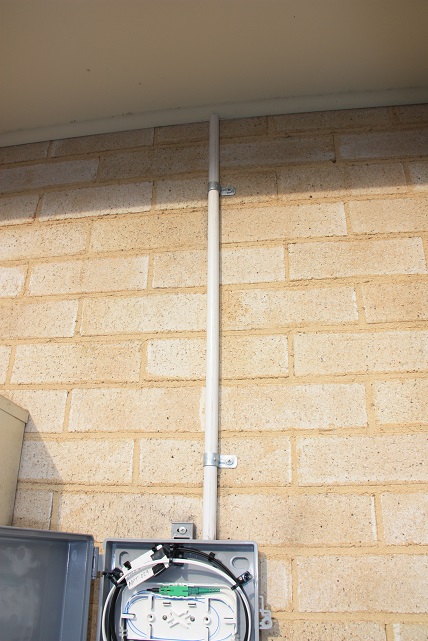
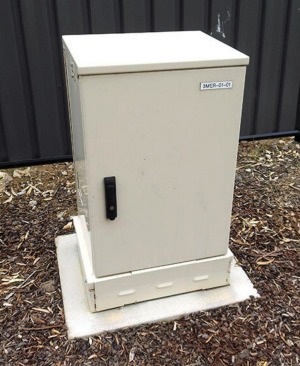
Just above the old Telstra box, the new NBN Utility Box was installed. The rugged heavy duty Single Mode single core optical cable from the NBN Node is then terminated in this box. The 2nd photo shows the cover removed.
There is plenty of extra length in the last section of the street-side cable, allowing for future re-termination if a fault occurs. You will note that the exposed cable is quite thin. the protection provided within the NBN Utility Box is important for longevity of this end of the cable.
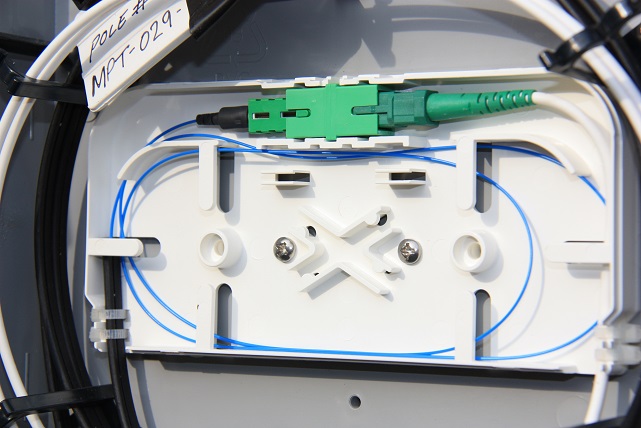
A single SC connector from the street-side cable is then mated with the internal SM cable which is fed into a conduit, running up the side of the house. In some cases they would drill through the wall and enter the house at this point, however here they determined there was too much risk of disturbing internal services (e.g. power and gas) so left the conduit on the outside of the house.
Ceiling Cabling
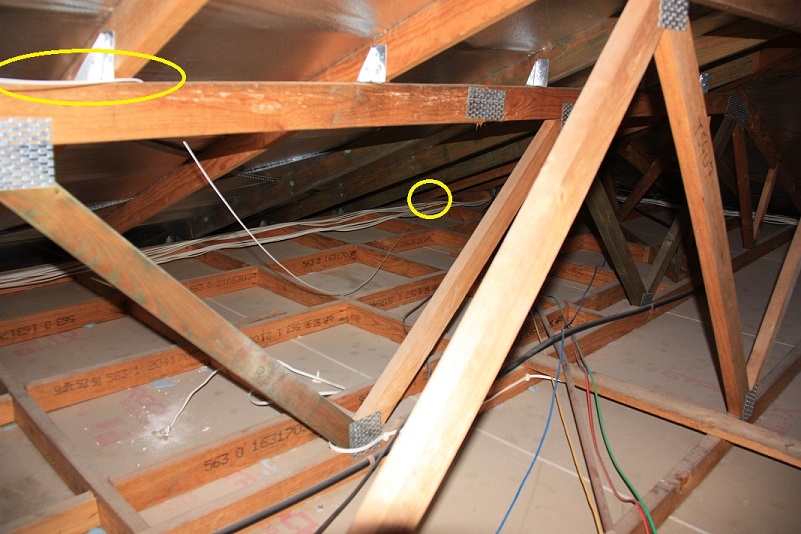
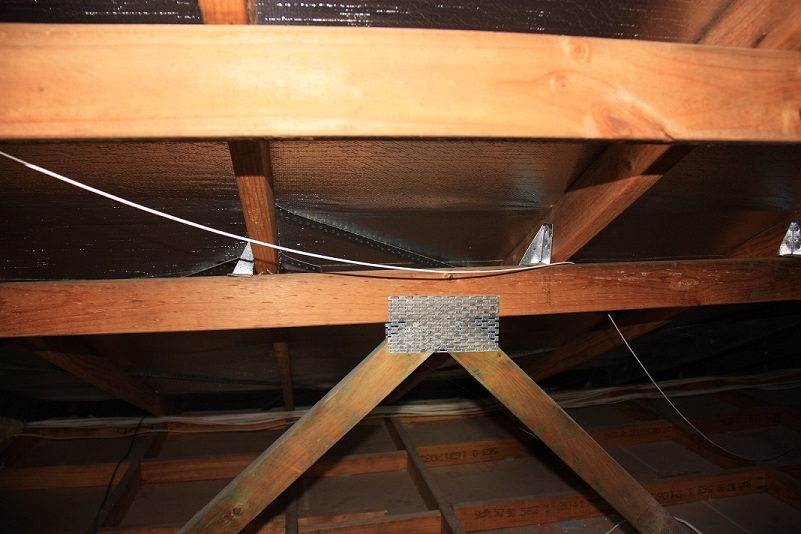
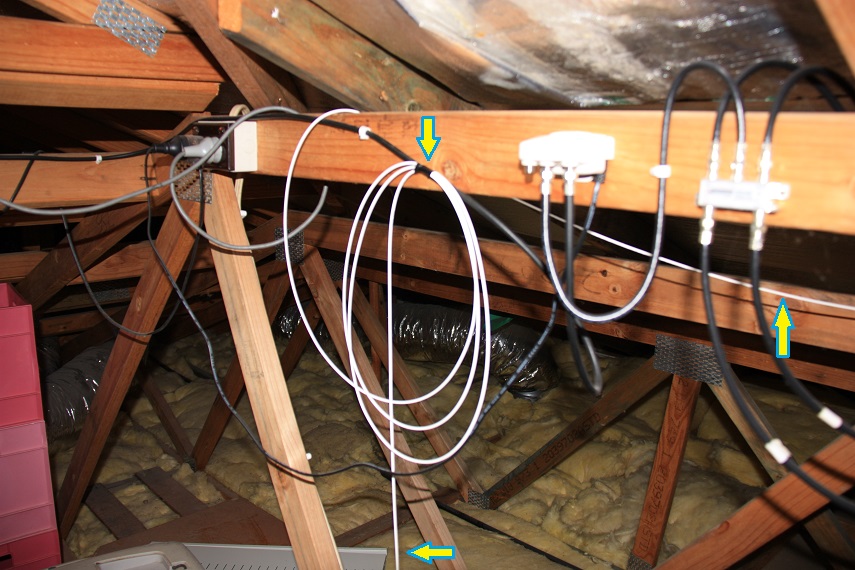
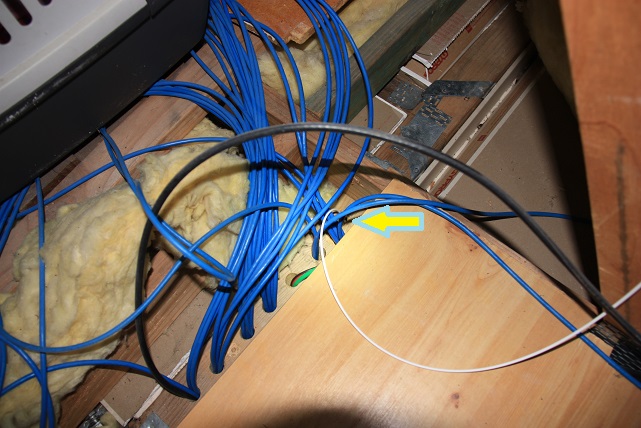
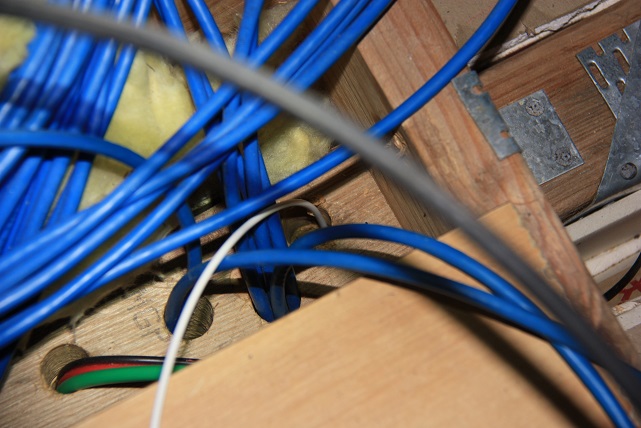
The cable was run loosely through the ceiling, with plenty of slack in case it needs to be re routed, re-terminated etc in the future. It was fed down the cavity between the garage and a bedroom, following the same cable route as CAT6 cabling.
NBN Connection Box
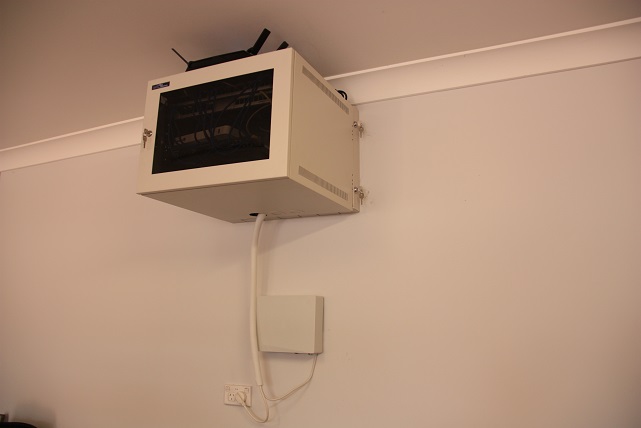
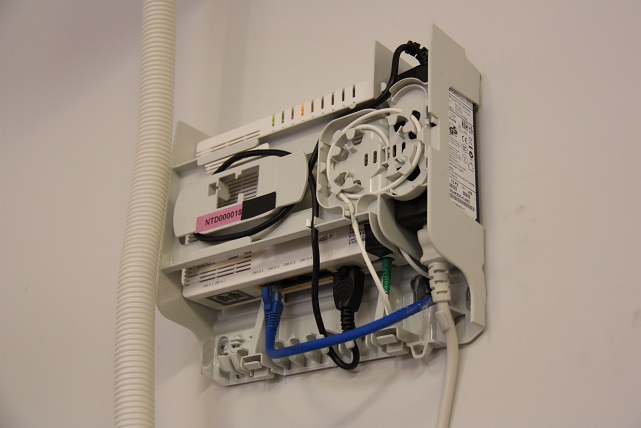
The installer selected the garage (under my comms rack) as the best place for the NBN connection box. The connection box was a very nice miniature enclosure the perfect size for the NTD. Older installations have either not included the enclosure, or have used much larger B&R enclosures etc.
At the time of the install, NBNCo / Optus had decided to stop supplying battery backup units (so it is up to individual subscribers to purchase their own UPS)
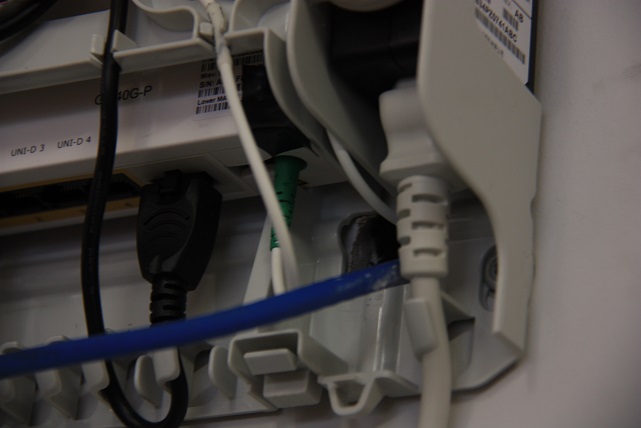
Very simple cabling inside - Optical SM cable connects to the WAN SFP (this is fairly well "locked away from users". Given that Long Wave Single Mode operates in roughly the 1300nm / 1500nm wavelength range (well above the maximum visible to humans - red - 750nm), they need to pretty much guarantee that end-users will not fiddle with the cables and damage their eyesight with invisible high powered laser exposure.
The NTD has two UNI-V phone ports and 4 data ports.
Note - Optus refuses to provide UNI-V phone services (a "feature" they neglect to tell their customers until it is too late), so I'm stuck with a pretty useless Optus modem with inbuilt SIP to connect to their legacy telephone gateways in their cable internet exchanges.
Note that all data cabling is through the wall - thanks to the superb efforts of the installer. Just a tiny incision into the gyprock and the existing cable routes were followed back to the cabinet.
So that's pretty much it. Feel free to contact me if you're looking to connect to the NBN and have any specific questions on how things work at a technical/detailed level. I can send more pics etc if needed.
